Now let’s try to make this very important passage of equalization technique.
First of all, let’s start by saying that both techniques need pressure, so basically we have to close the nostrils in order to create pressure in the nasal cavity and consequently manage to open the eustachian tubes.
But now we are going to discover the substantial differences between these two equalization techniques.
Frenzel Equlization Technique
Frenzel: In this equalization manoeuvre the air is between the tongue and the soft palate and we use the tongue as a piston to create pressure.
Mouthfill Equalization Technique
Mouthfill: In this equalization technique we have air in the oral cavity, the tongue is down, so we can charge more air into the mouth. With this manoeuver we press first with the jaw, then with the cheeks and then with the tongue.
So we can say that the last part of Mouthfill is a Frenzel.
So in this fundamental passage of these two equalization techniques we also have another substantial difference that is the charge.
When I say charge I mean the transfer of air from the lungs to the mouth. In the Frenzel technique we have to pronounce the letter “N” and then create the tongue lock, while with the Mouthfill we charge with the letter “M” and then move from the tongue lock to the lip lock.
Now, however, to start making this passage, we must equip ourselves with either an “Eqtool” or an “Otovent“
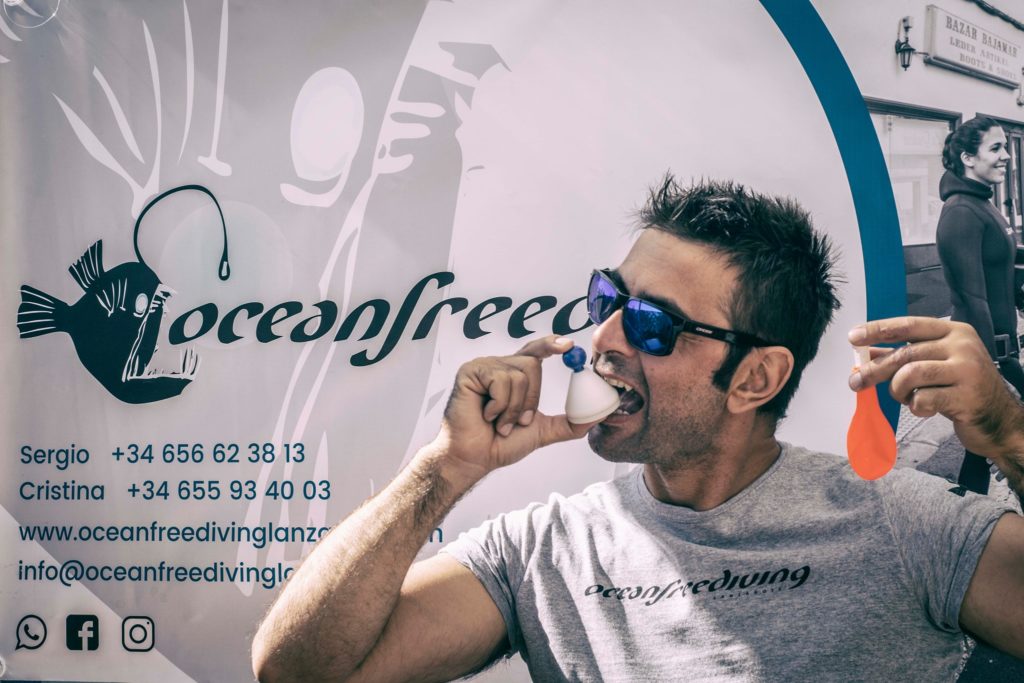
Otovent: It is an instrument that is used for Otorhinolaryngological diseases. It is an
instrument used by children who have infections in the middle ear due to poor ventilation.
Eqtool: This tool invented some months ago, allows us with the connection via Bluetooth to our phone to see through an APP, the pressures we use, to manage the equalization.

This new tool was invented mainly for the equalization of freedivers but in the future will also have a medical purpose for the field of Otorhinolaryngology.
So now let’s move on with this procedure.
First of all we must learn these dry passages and then be able to pass it later in the water.
If we are equipped with an Otovent then we can proceed to some exercises:
Inflate the Otovent balloon by charging the “M”.
Now with the balloon inflated,
exhale all the air from the lungs, pull up the diaphragm and then place the Otovent in one of the two nostrils, tighten the other nostril. Now apart of the air in the balloon enters the nasal cavity and into the oral cavity, inflating the whole mouth. Now the exercise begins by
closing the jaw and creating pressure that inflates the balloon at the same time.
Let’s proceed now with the same part of exercise n°2, but now adding cheeks to the jaw.
Last exercise then includes the jaw, cheeks and to finish the tongue.
Now let’s proceed to the exercises with the new Eqtool tool instead.
With this tool we can create real compensation training tables. It creates recovery times and operating times.
Make the charge “M” and check on the
phone that when we start to load the diagram does not go negative but it
is always positive.
Create a table 1 ‘breath and 15 “exercise.
Now that you have this table and named then start with the exercise. In practice, charge the “M” and then once the load is finished try to move only the jaw holding a constant
pressure looking at the diagram that appears on the phone.
Create another table 1 ‘breath and 20 “.
Now add the cheeks to the first part, first moving the jaw and then the cheeks, always creating a constant pressure.
Create another table 1 ‘breath and 30 “.
This is the last part and the part we should have acquired with Frenzel. So let’s start by moving the jaw first, then the cheeks and then the tongue at the end and also in this
case trying to always have a constant pressure.
I hope this reading will help you to improve your equalisation technique.
If you have any questions, do not hesitate to write me in the comments.
